Pausing our usual Favorites post…just this week, to share my holiday cookie box. I know many of you really look forward to the Favorites post so, but I promise, today’s post is worth it…because it’s the sweetest day of the year here on HBH! I could not be more excited to share this year’s cookie box. Without a doubt, this is my favorite box yet (see year one and year two), as I have filled it to the brim with my favorite cookies. The last two weeks have been nothing but cooking and baking in prep for my trip to NYC this week. I turned out a whole lot of sweets this weekend to get this year’s box ready for you all. Many of you have been asking for me to share my box earlier this year, so I wanted to get this post up as soon as possible. I am so happy you are all excited to gift friends and family cookies this holiday season!! One of my favorite Christmas traditions is shipping out Christmas cookie boxes to friends and family. I know things are BUSY this time of year, but I try to make an effort every year to set aside one day for Christmas cookie baking. We’ve been doing this for a few years now and it’s become one of my favorite December activities. So with that, let’s jump right in and talk about all the steps you’ll need to take to create the perfect box. ‘
Step One: Choose Your Cookies
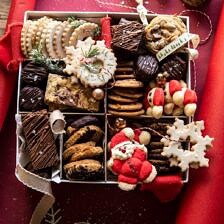
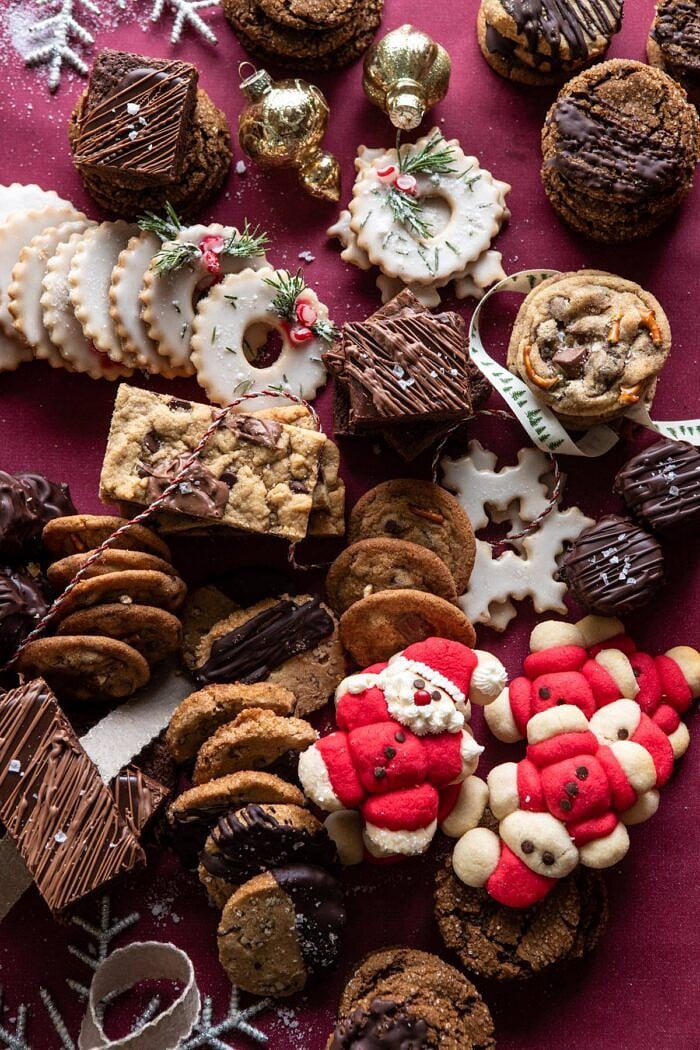
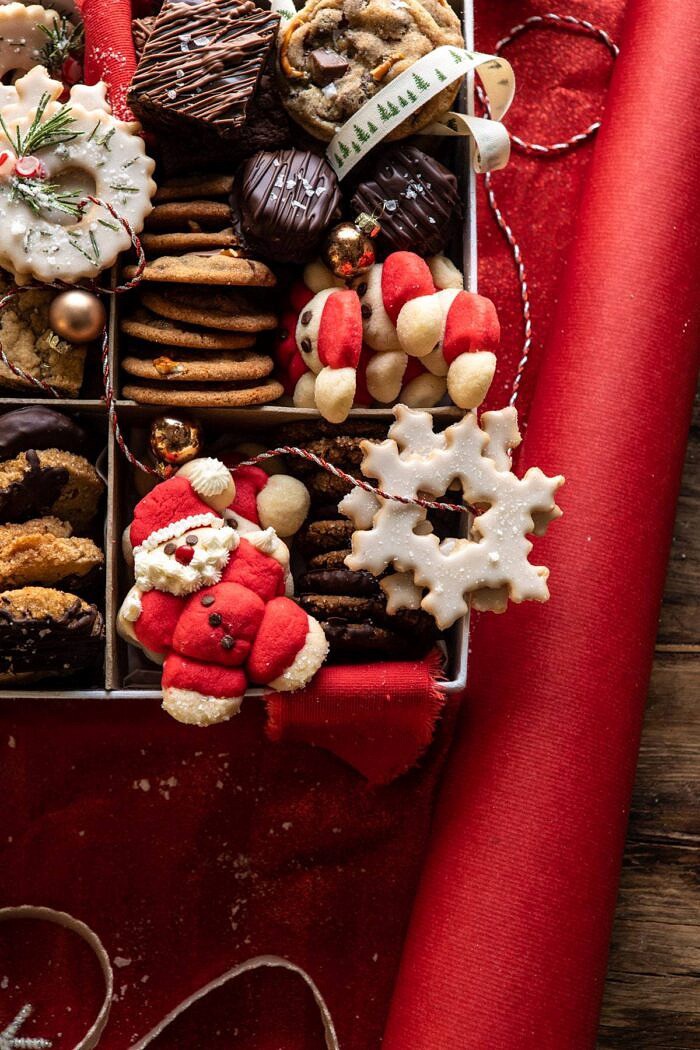
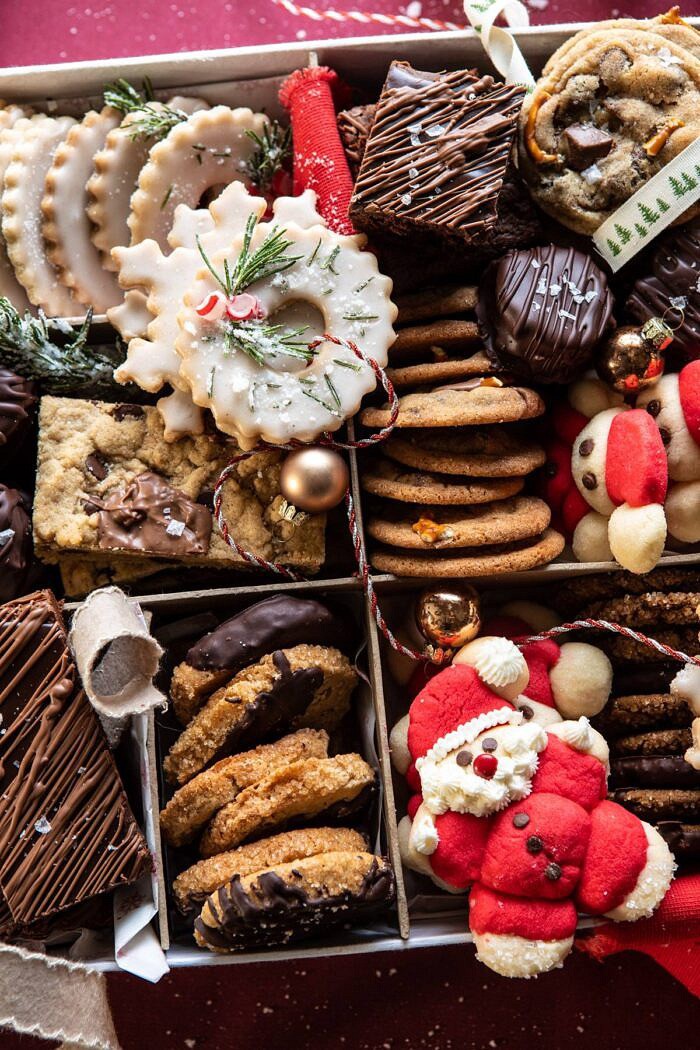
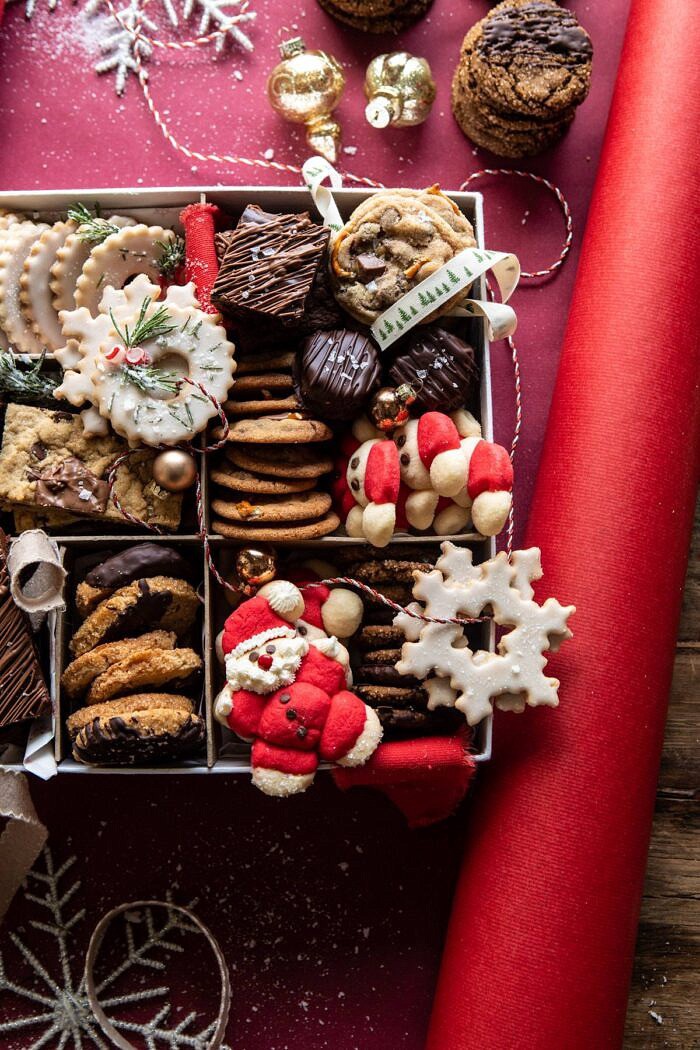
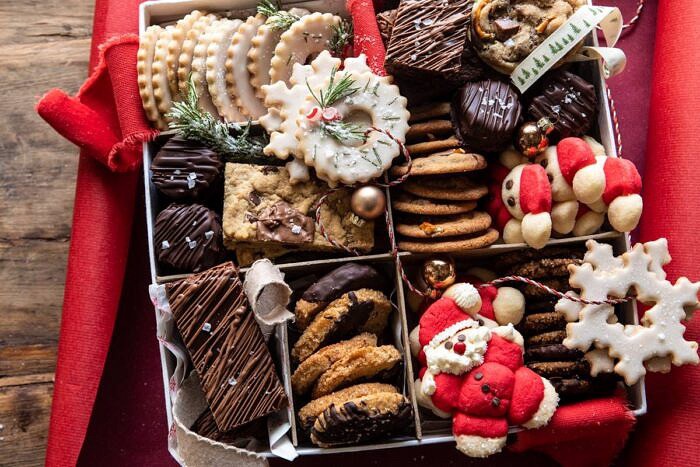
When choosing your cookies, be sure to pick cookies, and or other desserts, that will hold up well in shipping. I like to choose cookies that are different shapes and sizes. I find it’s nice to have a little variety in the box, so I’ll normally bake anywhere from four to six different cookies and then divide them between boxes. Here are the cookies used in my 2019 cookie Box:
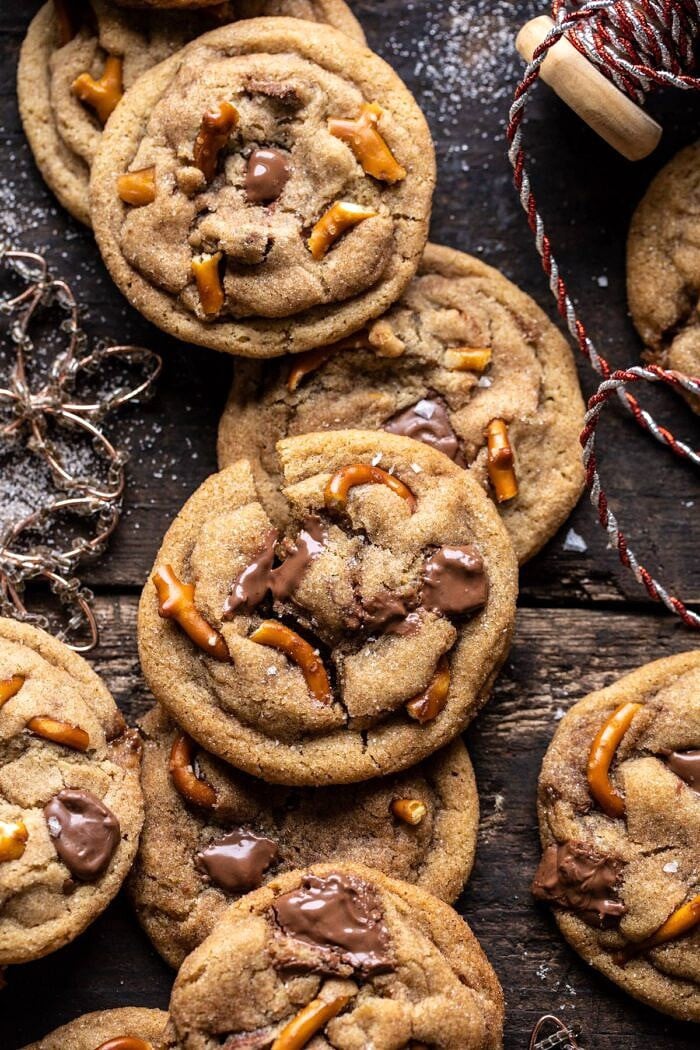
Salted Caramel Pretzel Snickerdoodles
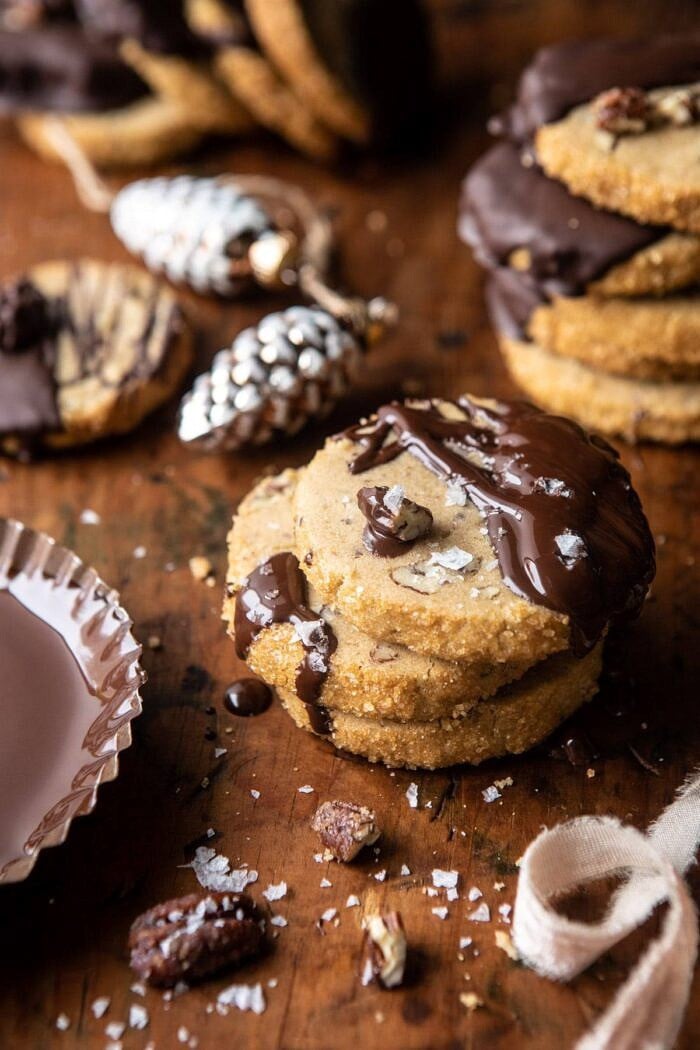
Slice n’ Bake Salted Chocolate Butter Pecan Cookies
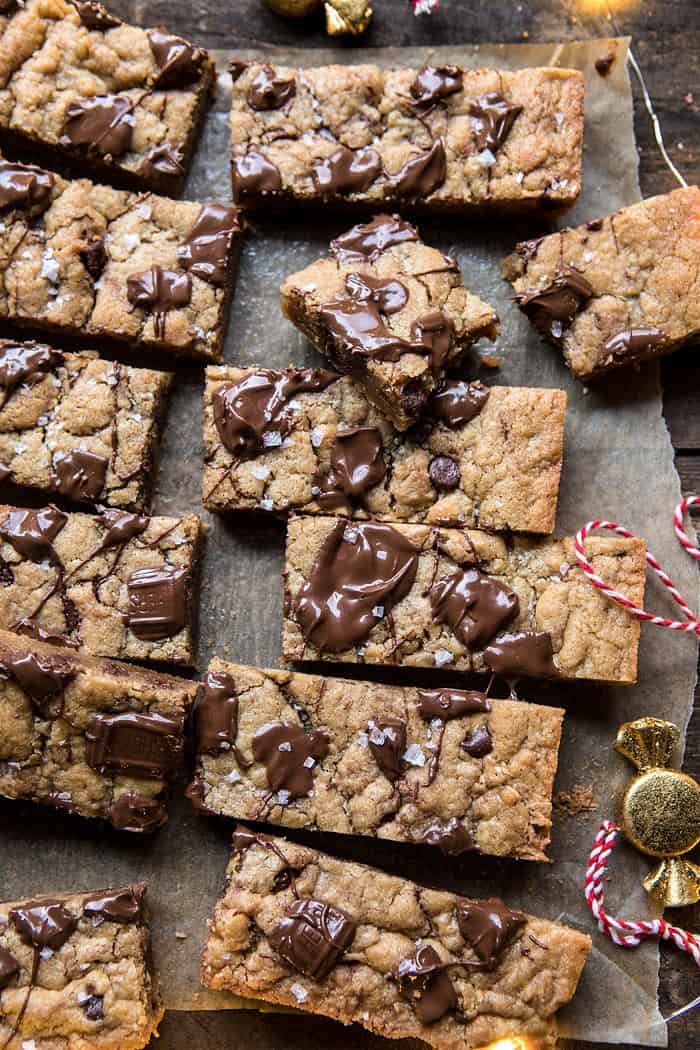
Milk Chocolate and Peanut Butter Blondies (oldie but goodie HBH recipe
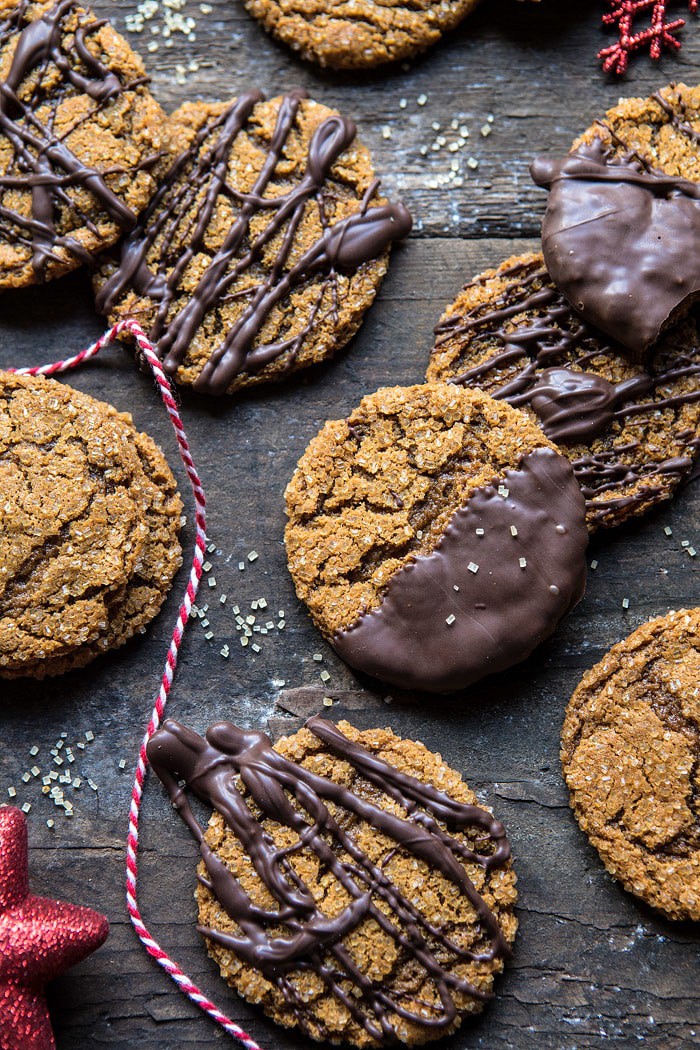
Chewy Ginger Molasses Cookies
Holly Jolly Santa Cookies
Coconut Caramel Stuffed Chocolate Covered Pretzel Presents (throwing it way back to the early days with this recipe)
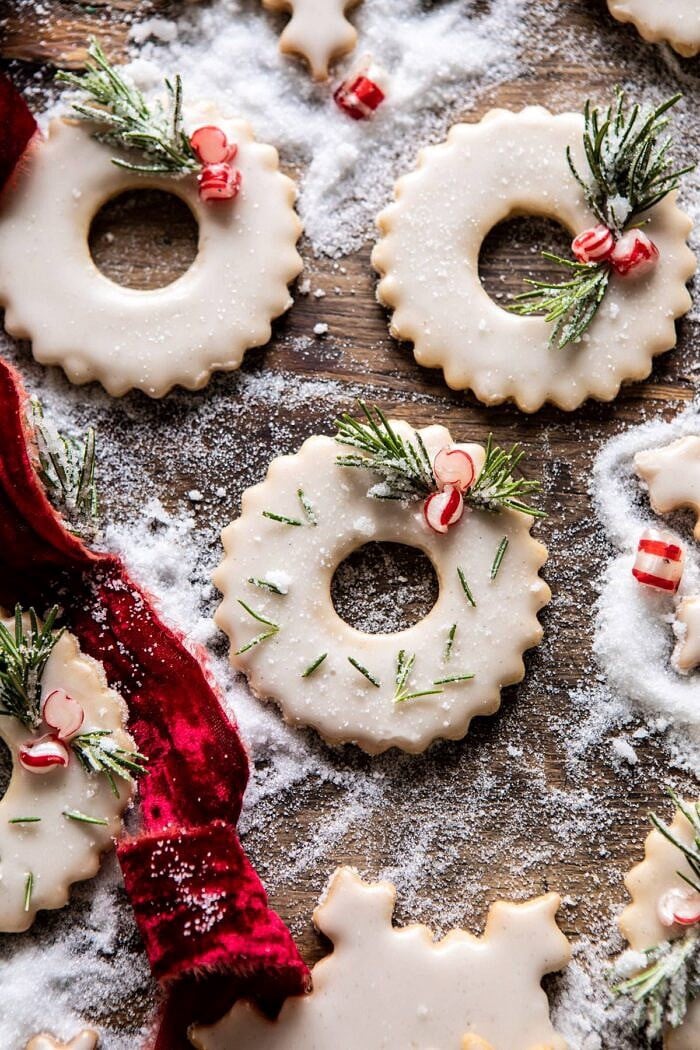
Vanilla Ginger Shortbread Wreaths
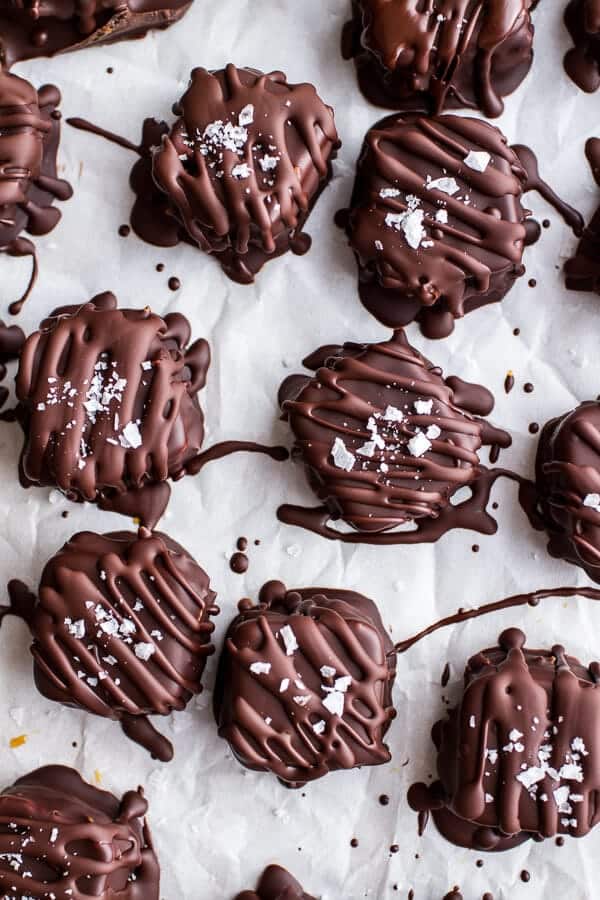
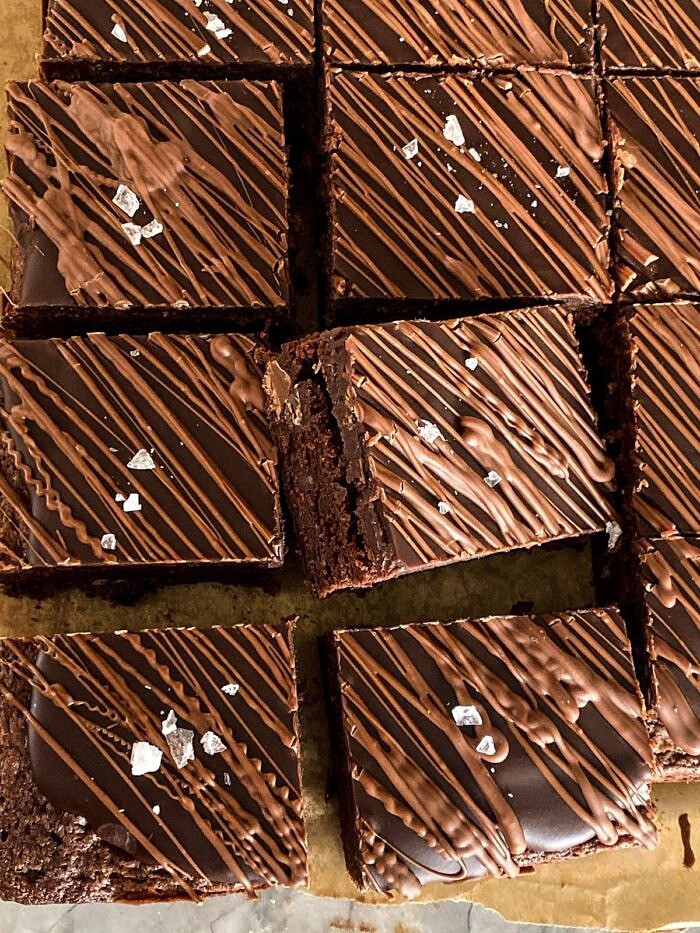
Milk Chocolate Peanut Truffle Brownies (another oldie but goodie)
Step Two: Get a Sturdy Box
Alternately, you can use cookie tins as well. I love these festive square tins or these more classic round tins. Tip: place bubble wrap in the bottom of your box, then line the box with a very large piece of plastic wrap (use multiple layers if needed) that will be large enough to wrap overtop of the cookies when the box is full. This keeps the cookies safe and fresh.
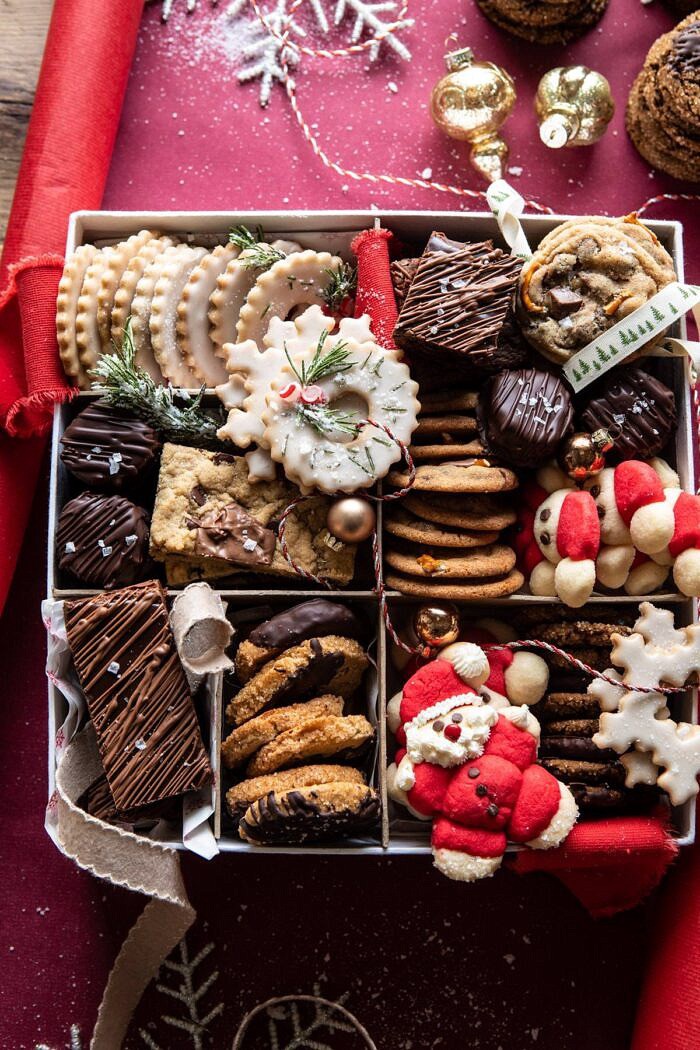
Step Three: Gather Cute Packaging and Ribbon
I try to find festive plastic wrapping, food-safe tissue paper, and or ribbon, to wrap around my cookies. This gives your box that extra special touch. Tip: I always wrap cookies that I want to stay extra fresh in holiday ziplock storage bags and then add them to the box. If you want to use something a little cuter than storage bags or plastic wrap, try using holiday cellophane bags that can be sealed with ribbon, small holiday cookie tins or boxes or food containers that will fit inside your box.
Step Four: Bake The Cookies
I like to bake and decorate the cookies in the morning, then let them chill and package them up late afternoon or at night so that they are ready to ship in the morning. Have fun and make a day of this with your girlfriends, kids, siblings, really anyone who loves to bake and listen to Christmas music!
Step Five: Package Everything Up
Packing up your boxes is probably one of the trickiest steps of sending out holiday cookie boxes. You’ll want to make sure that all the time you spent making cookies wasn’t wasted. First, you should know that these photos are a bit misleading. They do not represent how I would actually ship my box. My goal is to show off the cookies, but here are my best tips for actually packaging up the cookies and shipping out your boxes… …start out by wrapping any cookies that are more fragile in plastic wrap or plastic food bags …be sure to package the heaviest cookies on the bottom and the lightest cookies on top …arrange a layer of shredded paper, bubble wrap, or tissue paper between each new layer of cookies. …pack your cookies snug in your box to keep them from moving during shipping. …for the final layer of your box, I like to use shredded paper, bubble wrap, or tissue paper. This will further help the cookies to stay snug and in their place. …pack the box inside a large cardboard box with about two inches of space all around and fill in the empty space with bubble wrap, as this provides just another layer of protection for your cookies. …seal the box well with tape and then write fragile all over it.
Step Six: Ship Your Box
I ship via UPS or Fed-Ex, I’ve found them to be pretty reliable. Ship your cookies via two-day air because it’s important to get your cookies to their recipient as soon as possible. My biggest tip? If possible, avoid the post office, in my experience, that does not end well.
And that’s all I got! These are my best tips and tricks that I’ve learned throughout my past years of creating cookies boxes. Hoping this year’s box inspires you all to make your own. It’s truly the best gift you can give…who doesn’t love cookies?! Question: what are all of you baking up this holiday season? What are your BEST tips in creating cookie boxes? I’d love to hear how you guys do it!
If you make your own 2019 holiday cookie box, be sure to leave a comment and/or give this recipe a rating! Above all, I love to hear from you guys and always do my best to respond to each and every comment. And of course, if you do make this recipe, don’t forget to tag me on Instagram! Looking through the photos of recipes you all have made is my favorite!