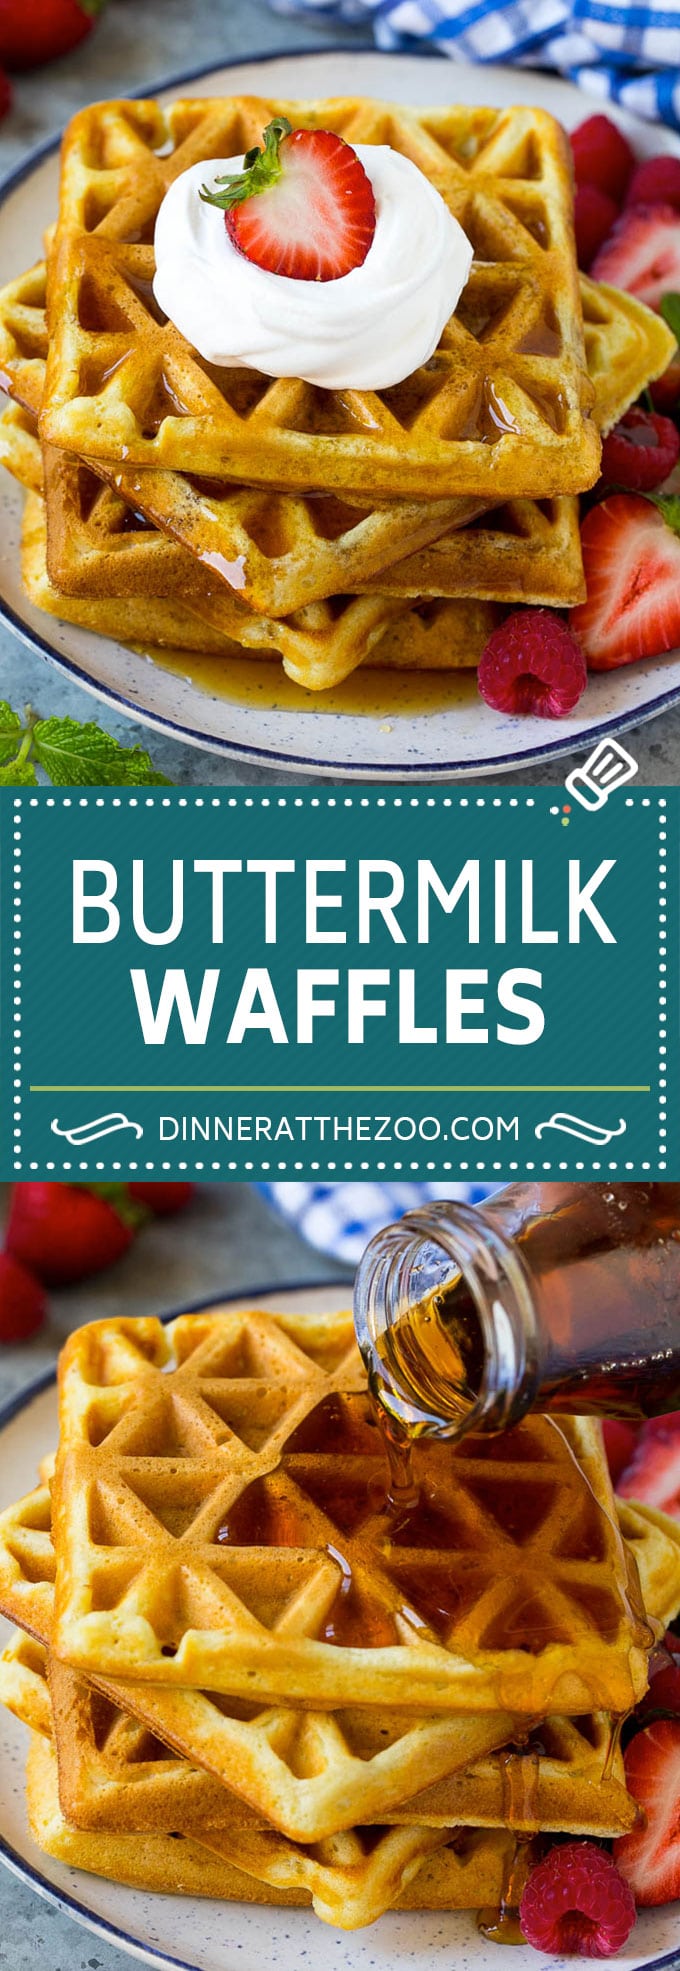
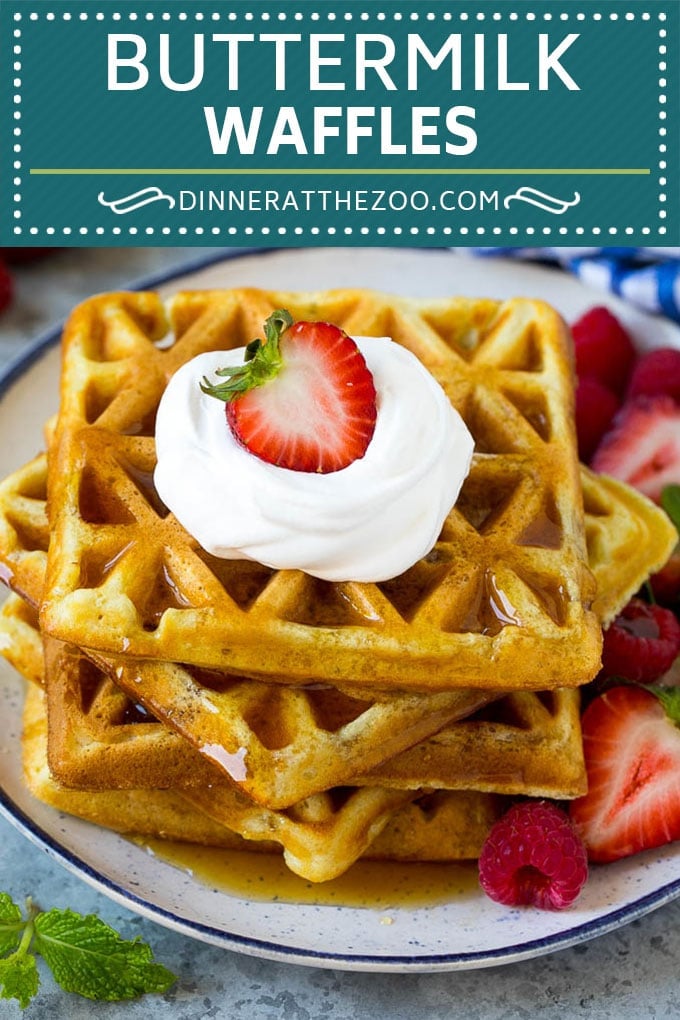
When I’m hosting guests for brunch, I always make red velvet waffles, breakfast egg muffins, cream cheese danishes, and these simple, but totally satisfying buttermilk waffles.
When we’re enjoying a leisurely weekend morning, I’ll often whip up a batch of waffles to get everyone’s day off to a great start. I’ve been making these buttermilk waffles for over 10 years, and they come out perfect every time!
How do you make buttermilk waffles?
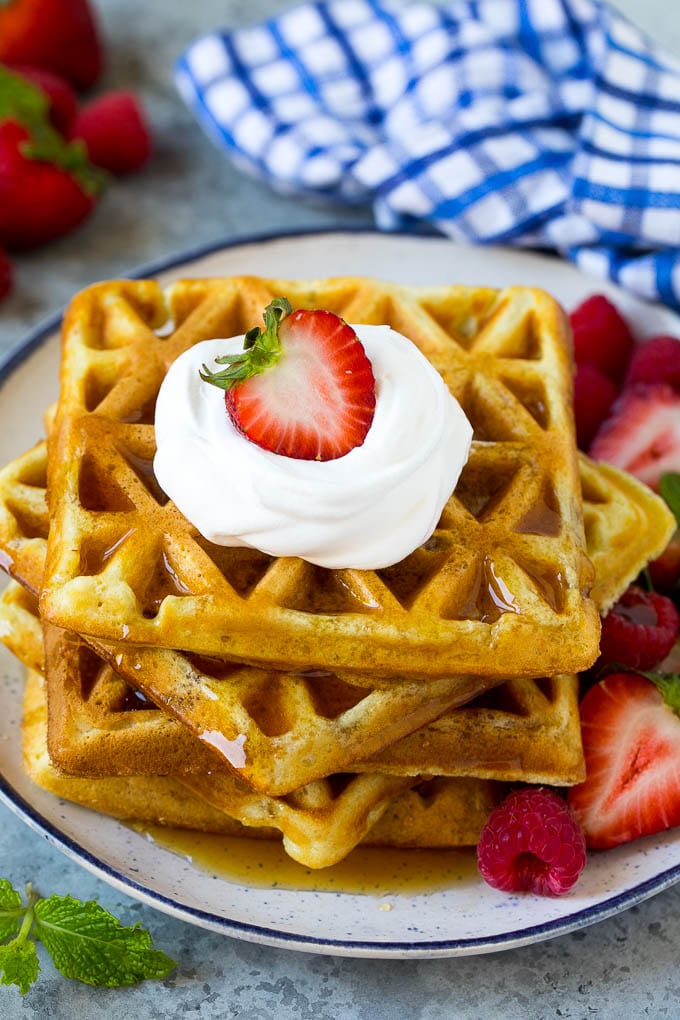
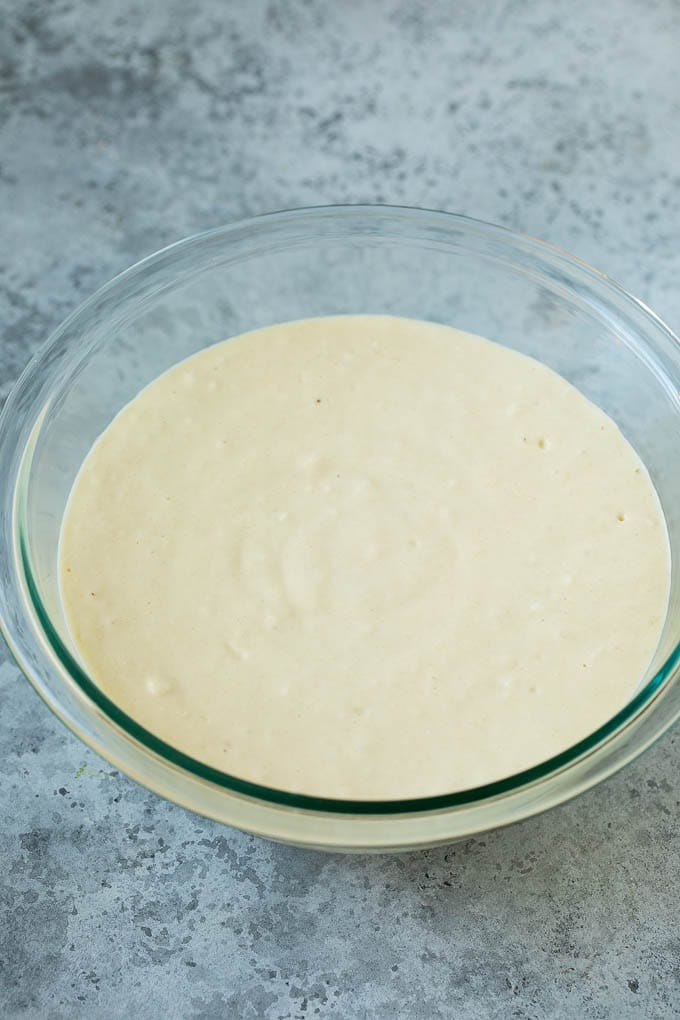
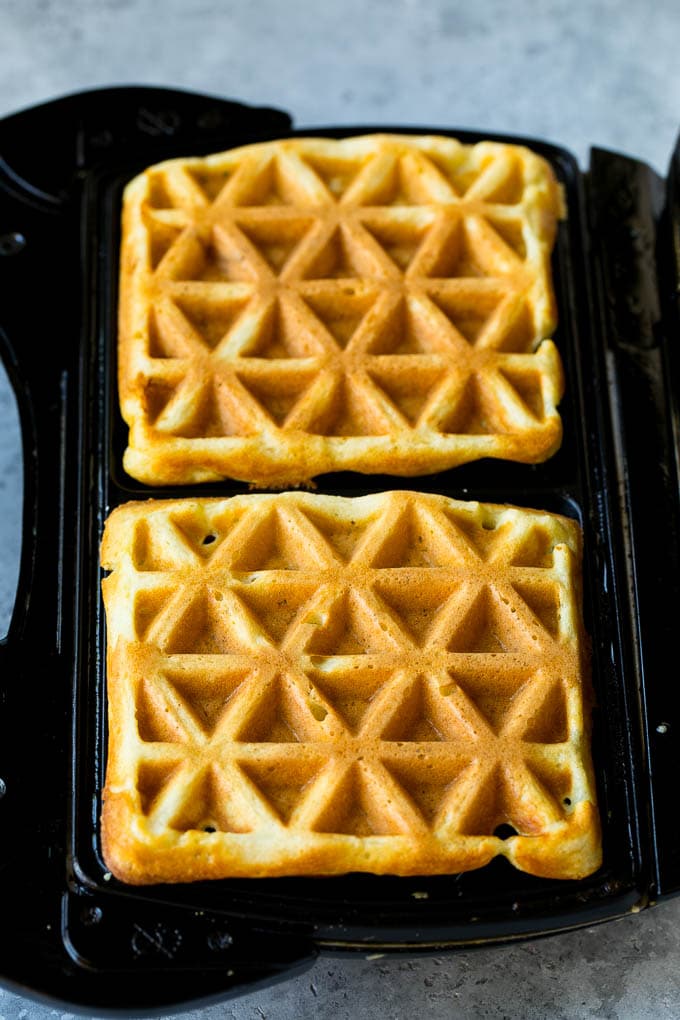
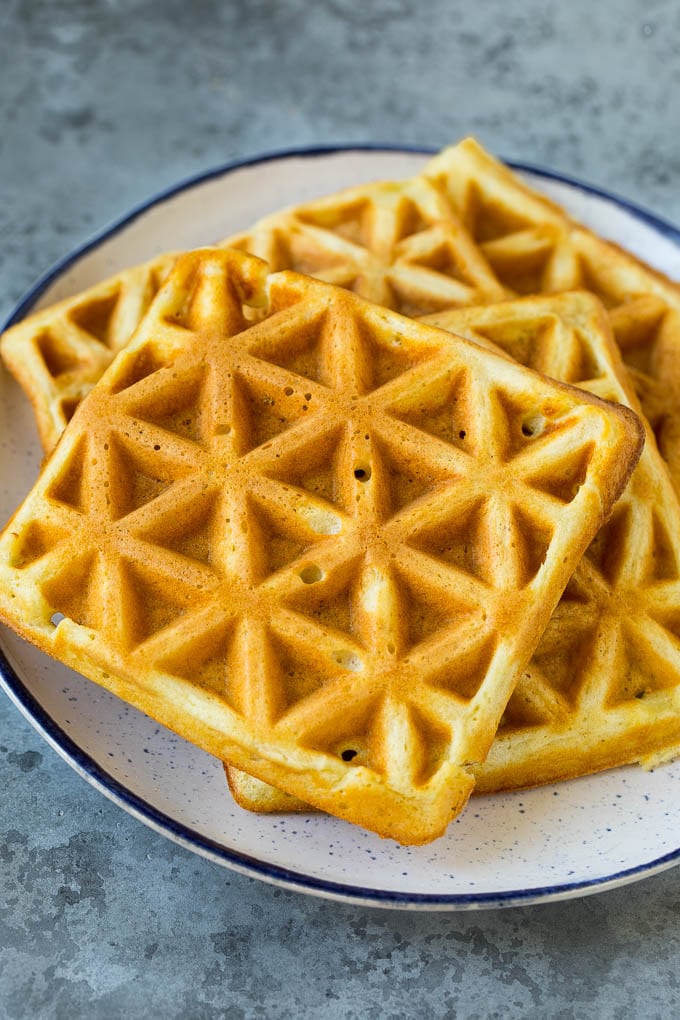
This recipe starts with your basic waffle ingredients of flour, sugar, baking powder, baking soda and salt. The wet ingredients of eggs, melted butter, buttermilk and vanilla extract are mixed into the dry ingredients to form a smooth batter. Pour your batter into the waffle iron, then all that’s left to do is wait for your waffles to cook! Top your waffles with plenty of maple syrup and berries, then serve and enjoy.
Tips for buttermilk waffles
The batter can be made in advance. You can refrigerate the batter for up to 4 hours before you plan to use it. Not all waffle makers are made equal! Make sure to check the instructions that come with your waffle iron for the manufacturer recommendations on cooking time. You can enhance your waffle experience by adding 1/4 cup of mix-ins to the batter such as chopped nuts or miniature chocolate chips. For healthier waffles, try substituting one cup of the all purpose flour with one cup of whole wheat flour. Not a fan of maple syrup? Try a drizzle of homemade raspberry sauce instead!
What is a substitute for buttermilk?
You can enjoy a batch of these waffles even if you don’t have buttermilk on hand. You can make a buttermilk substitute by mixing slightly less than 2 cups of milk with 2 tablespoons of lemon juice. Let the mixture stand for 5 minutes, then you can use it in this recipe.
How to store waffles
The great thing about homemade waffles is that they stay good in the fridge for up to 4 days or in the freezer for up to 2 months. If you’re planning to keep your waffles in the refrigerator, you can store them in an airtight container until you’re ready to reheat them. To store your waffles in the freezer, wrap them individually in plastic wrap, then place all the wrapped waffles in a gallon size freezer bag.
How to reheat waffles
The easiest way to reheat waffles is in the toaster oven. The waffles will come out crunchy and golden brown. If you’re starting with frozen waffles, you’ll want to add an additional 1-2 minutes to the toasting time. I find that with my toaster oven, a refrigerated waffle needs to toast for 5 minutes, and a frozen waffle will cook in 7 minutes. What I love about these buttermilk waffles is that they’re perfectly light and fluffy. My kids request homemade waffles all the time, and I’m always happy to oblige!
More great breakfast ideas
Ham and Egg Cups Breakfast Burritos Dutch Baby Pancake Banana Pancakes Baked Donuts
This post was originally published on May 26, 2016 and was updated on July 23, 2019 with new content.