To make ghee at home, you need just one ingredient- unsalted butter! With its golden hue, irrestible aroma and a rich & nutty taste, homemade ghee is superior in quality and a cheaper alternative to what you will purchase from the store. Whether drizzled over steaming basmati rice or dal (lentils), kneaded into flour to make flaky indian pastries such a gujiya & papris, or used as a medium for curries & deep frying mithai (sweets), Indian food is unimaginable without ghee. Like many Indian kids, I grew up on homemade ghee, made lovingly by my grandmother. Pure ghee, made from malai (cream) from milk that our doodhwalla (milkman) happily delivered to our doorstep each morning. From the malai she collected for weeks together, the yield was a small bowl of desi ghee. Then, I never understood the point of laboring over something readily available in stores. However, now that I find myself in her shoes, joyfully making ghee every other week, I have come to appreciate its unparalleled taste, aroma, and vitality.
What is Ghee
Simply, ghee(pronounce it as GEE with a hard G) is indian clairified butter. It is the moorish gold colored liquid that you get once your seperate the milk solids and water from boiling butter or malai (cream). You may ask how is ghee different from clarified butter? Clarified butter is made by seperating the milk fat from water content and milk solids (milk proteins) of butter through boiling. Ghee extends the boiling time until the milk solids turn golden and hence it attains a richer, nuttier aroma. You can make ghee from both heavy cream and butter, the process from latter is quicker. The resulting liquid has a much higher smoke point(about 490F) making it ideal for high heat cooking or absolutely any cooking process that you want to put it through. In Indian homes, ghee is woven into the fabric of daily life as well as cultural traditions. Ghee is not merely a culinary ingredient but also a symbol of devotion in hindu culture. It is used in massages for body and hair, and consumed during times of illness for its purported healing properties. It
Why Make Your Own
First and foremost, it is one of the most economical do-it-yourself projects that you can put your hands to. With just a fraction of the cost compared to store-bought ghee, you can whip up a batch in your own kitchen. Second reason for me has to be the aroma and taste. Many times, opening a store-bought jar of ghee leaves much to be desired. I find that the aroma and taste of homemade ghee surpasses the store counterparts. Thirdly, the process of making ghee at home is remarkably simple. All you need is a heavy pot, such as a Dutch oven, iron kadai, or heavy stainless steel pot, and about 40 to 45 minutes of intermittent attention. You don’t even need to stir it while the butter boils off—a convenience that makes homemade ghee even more convenient. Lastly, when you make at home, ghee at home grants you complete control over its color and flavor profile. If you prefer a mild taste, you can filter out the milk solids as sooner, however, if you crave a stronger, nuttier taste, let boil till the milk solids are dark brown in color. This variety of ghee is loved in Bengali cuisine, where deeply browned ghee is prized for its intense, nutty essence—a flavor profile I personally adore.
How To Make Ghee At Home
Cooking Pot Selection - Chose a heavy and tall cooking pot. You need a tall pot because during boiling, the butter froths a lot and might foam too. I recommend choosing a stainless steel pot or white enameled cast iron pot (the white colors helps you observe the color of milk soilds at the of bottom of the pot) Peel the paper off the unsalted butter sheets or blocks and the butter to the cooking pot. Both salted and unsalted butter work, I have used both. You cannot use the ghee from salted butter in making desserts. Place the pot on stove on a medium flame. Let the butter melt. As the butter melts, it will start bubbling. Once you see it getting frothy, reduce to low heat.
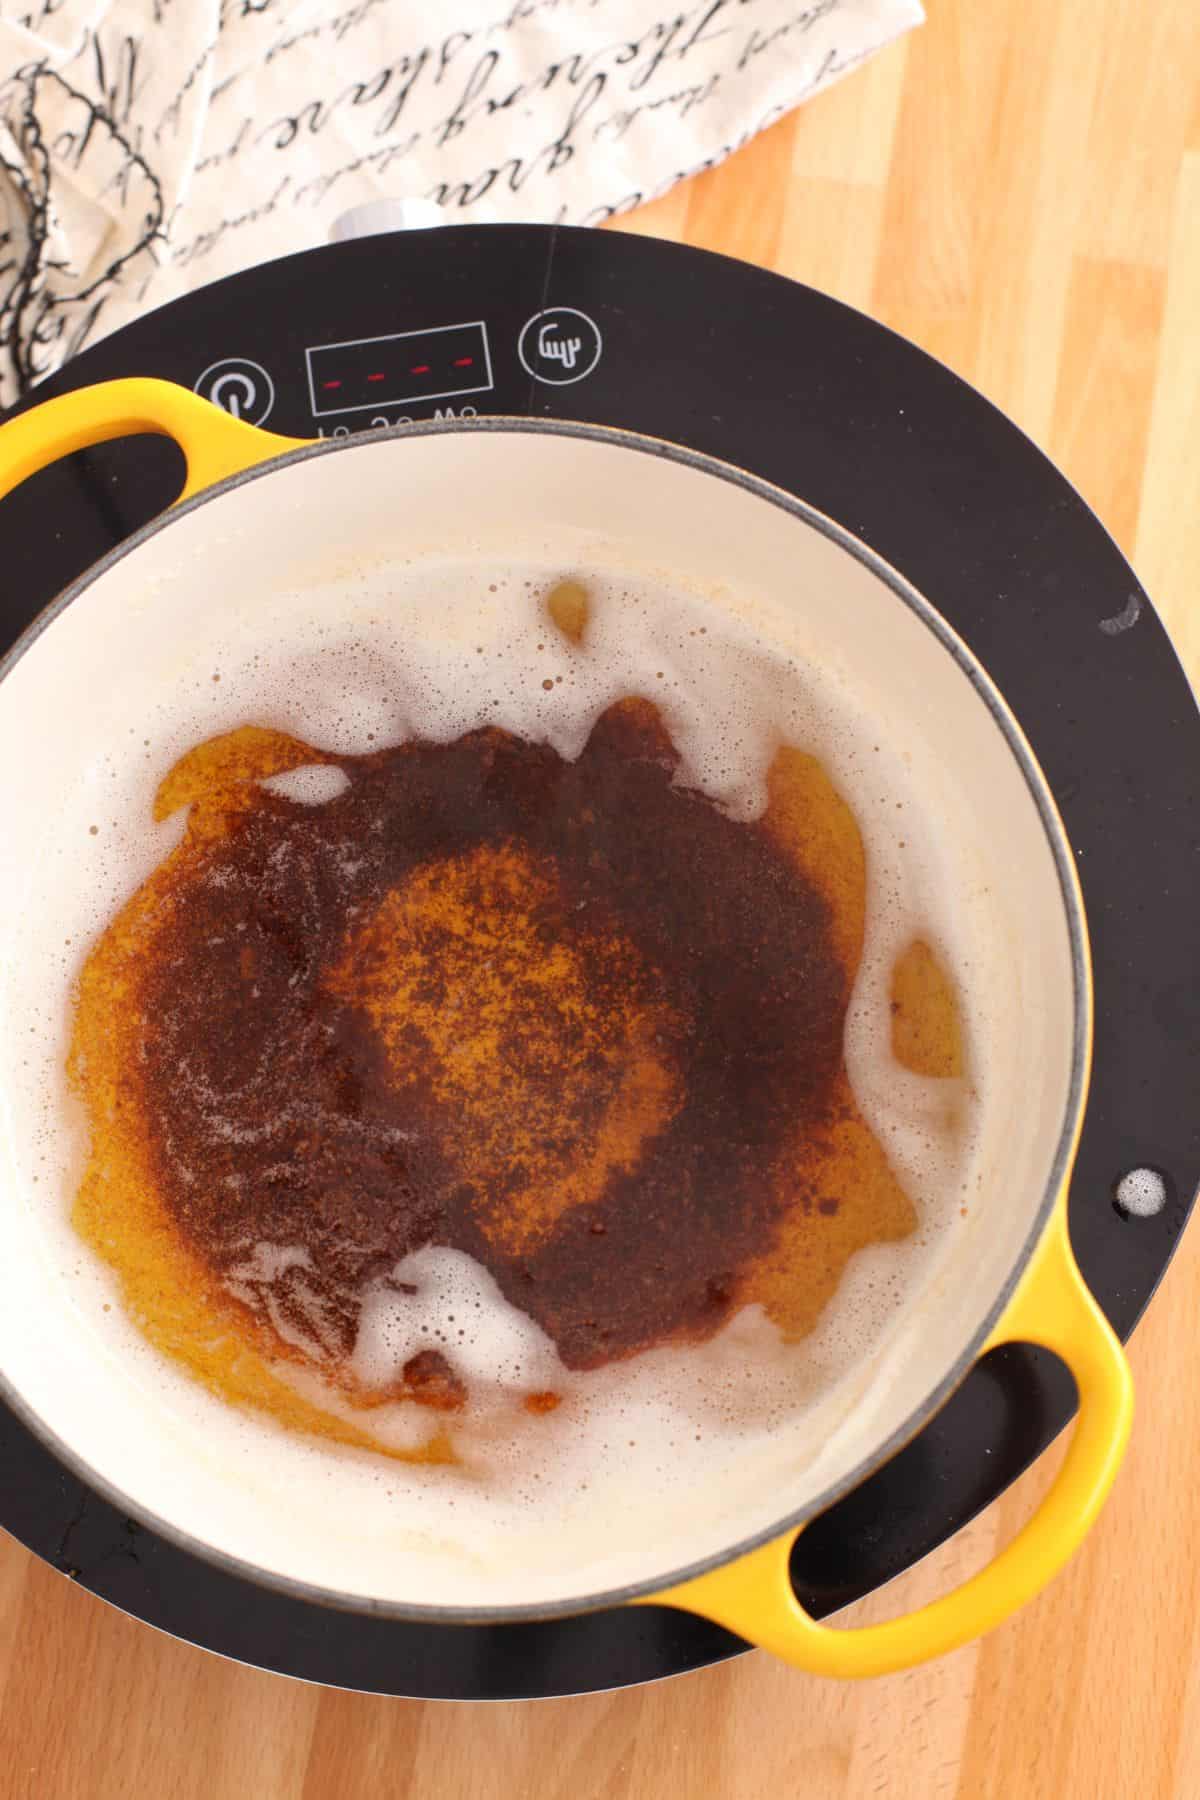
Leave the melted butter to simmer. As it will become hotter, it will start getting foamy. If you wish you could skim away the foam with a spoon for a clearer clarified butter. I dont. I just let let it do its own thing. In about 20-25 minutes, you will hear crackling sounds and frothiness will reduce considerably. You will see a liquid layer having a clear, pale yellow appearance while the solids at the bottom turn brown.This can take up to a 20-35 minutes. Your ghee is ready.
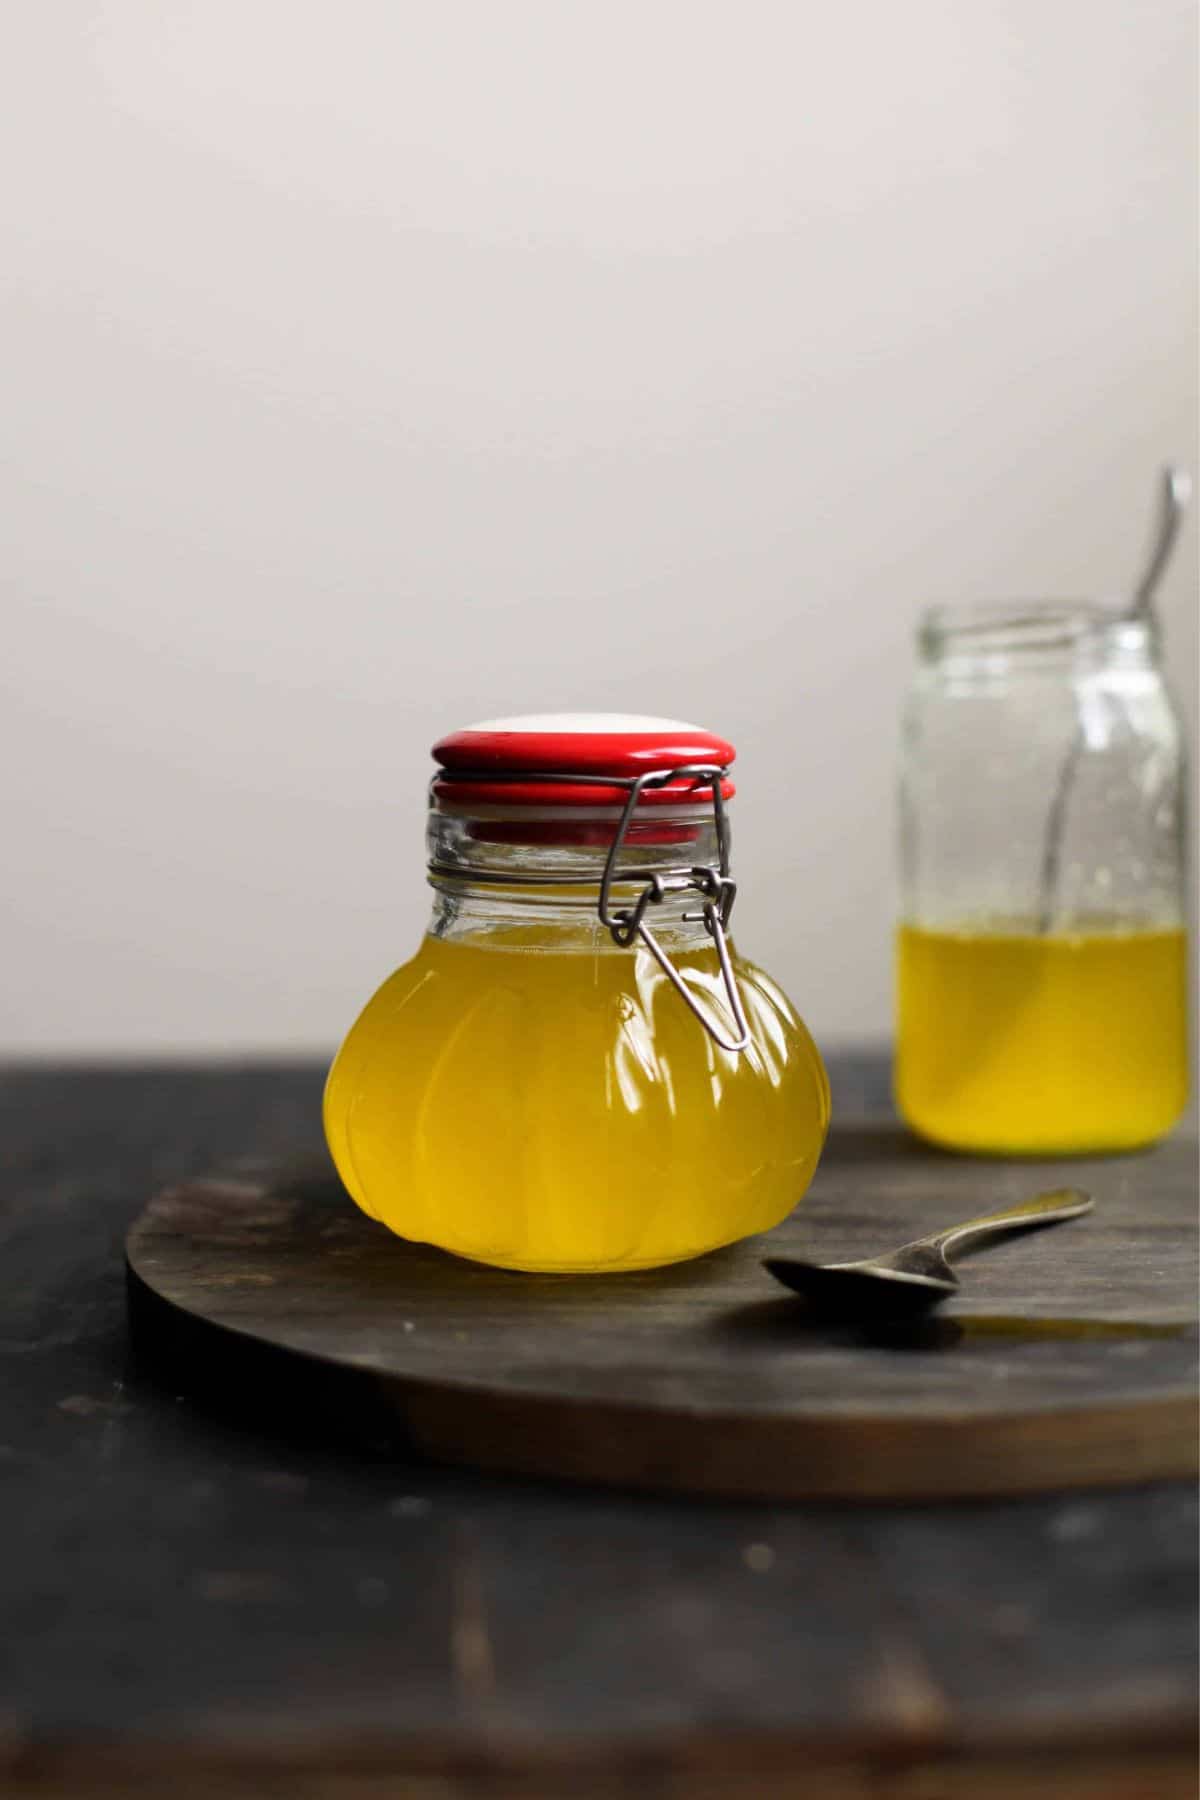
Switch off the stove and take the pot off the heat. The contents are still quite hot. Leave aside for 10-15 minutes or more. This step is important, I have had few accidents when I strained the ghee while it was still quite hot and the glass jars broke (I know, emabarassing!) Strain the golden liquid into a dry glass jar through a fine-mesh strainer. It will be pale golden color. Discard the browned milk solids. Add a pinch of salt, as the ghee cools, this brings out a wonderful grainy texture. If you do not have a fine mesh, you could line your soup strainer with a cheesecloth, coffee filter or paper towel and then strain.
Storage
Ghee is shelf stable and has a long shelf life due to low moisture content. During cold months, you can leave it in an air tight container at room temperature. It will have a soft consistency (similar to nut butter). During warm months, its best to store refrigerated to avoid ghee from getting smelly.
Using Ghee
Once you have a jar of ghee in your pantry, you can use it as a cooking medium in place of butter. I am so in awe of how it tastes when brushed on top of crusty bread, or drizzled over a bowl of warm dal or cooked rice, or when added to marinades or basted over roasting meats. It has been doing so much in my kitchen for all these years that its nothing short of it if I choose to call it the liquid gold. In indian cooking ghee is used for tempering, in desserts, sauteeing, browning, deep frying as well as baking
Use it to temper lentils (dal) and beans(pindi chana) Fold it in pastry dough to make crackers (papri. Drizzle over vegetables while baking or brush over tandoori marinade or while cooking chicken tikka (such as malai tikka) Smear it over flatbreads, or better yet, use it to cook skillet flatbreads (such a paratha).
Recipe Tips
Use high quality butter for the best tasting ghee. Choose from organic butter or grass-fed butter. Simmer over low to low medium heat to aid gradual seperation of milk solids, moisture and fat from butter. Rushing the process could lead to uneven seperation or the mild solids might burn at the bottom.